Image to PES File Conversion Made Easy
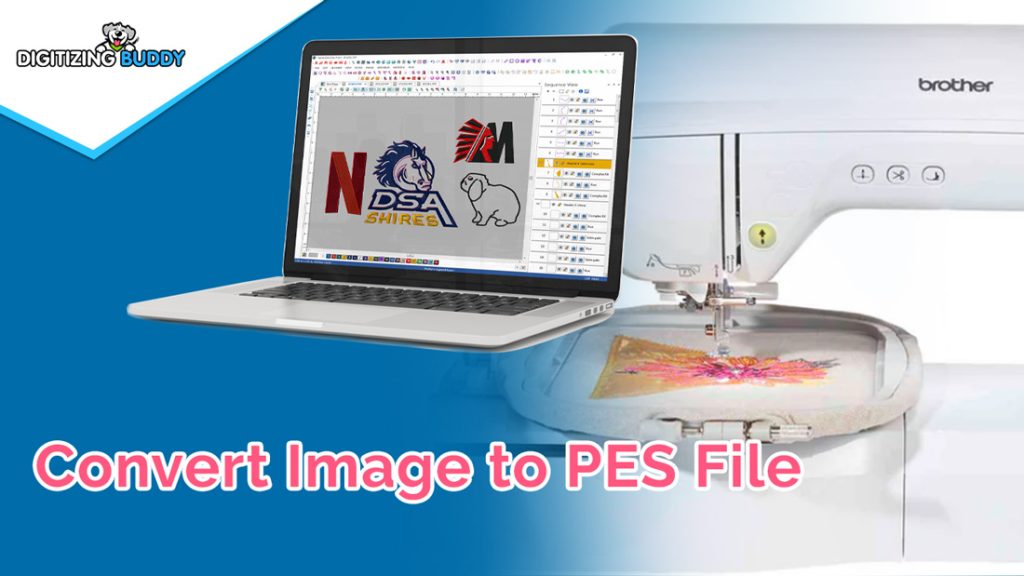
Want to turn your favorite image into an embroidered masterpiece? Converting images to PES files (the format Brother embroidery machines use) doesn’t have to be complicated. Whether you’re looking to stitch a company logo, family photo, or custom design, this guide to convert image to PES file breaks down the entire process into simple, manageable steps.
Why Convert Images to PES Files?
PES files contain the specific stitch instructions your Brother embroidery machine needs to recreate designs. Unlike regular image files (JPG, PNG), PES files tell the machine:
✔ Exactly where to place each stitch
✔ What color thread to use
✔ How dense the stitching should be
✔ The optimal stitching sequence
Converting properly ensures your design stitches out clearly without puckering, gaps, or other common embroidery issues.
What You’ll Need to Get Started
Before converting your image, gather these essentials:
1. Quality Source Image
- High resolution (300+ DPI works best)
- Simple designs with clear contrast convert better
- Vector files (AI, EPS) are ideal but not required
2. Conversion Tools
Choose one based on your needs:
- Free online converters (quick and easy)
- Digitizing software (more control)
- Professional services (best quality)
3. Embroidery Machine Basics
- Brother machine that reads PES files
- Embroidery hoop appropriate for your design size
- Stabilizer and quality thread
3 Easy Methods to Convert Images to PES
Method 1: Free Online Converters (Fastest Solution)
Best for simple, one-time conversions
Recommended Tools:
- MyEditor (myeditor.com)
- EmbroideryDesigns.com converter
- StitchBuddy online tool
How It Works:
- Upload your image file
- Select PES as the output format
- Download the converted file
- Transfer to your embroidery machine
Pros:
✓ No software to install
✓ Instant results
✓ Completely free
Cons:
✗ Limited editing options
✗ Quality varies by tool
✗ Not ideal for complex designs
“I use online converters for quick personal projects when I need something fast and simple.” – Sarah, hobby embroiderer
Method 2: Using Digitizing Software (Best Control)
Best for those who embroider regularly
Top Software Options:
- SewArt ($50, great for beginners)
- Embrilliance Essentials ($129, user-friendly)
- Hatch Embroidery ($999, professional features)
Step-by-Step Conversion:
- Import your image into the software
- Use auto-digitize function or trace manually
- Adjust stitch settings (type, density, direction)
- Add underlay stitches if needed
- Export as PES file
Pro Tip: Start with simple designs if you’re new to digitizing software. The learning curve can be steep but pays off in quality.
Method 3: Professional Digitizing Services (Highest Quality)
Best for logos, complex designs, or commercial work
Top Services:
- The Digitizer ($15-$50 per design)
- Absolute Digitizing (fast turnaround)
- Wilcom Experts (premium quality)
Why Go Pro?
✓ Perfect stitch optimization
✓ Fabric-specific adjustments
✓ Saves hours of trial and error
✓ Professional results every time
Preparing Your Image for Best Results
Follow these tips before converting:
1. Simplify Your Design
- Remove tiny text/details under 1/8″
- Bolden thin lines (minimum 1.5pt thickness)
- Increase spacing between elements
2. Optimize Colors
- Limit to 6-8 thread colors
- Increase contrast
- Remove subtle gradients
3. Set Proper Dimensions
- Minimum 1.5″ for readability
- Maximum size depends on your machine’s hoop
Common Conversion Problems & Fixes
Problem: Blurry or Pixelated Results
Cause: Low-resolution image
Fix: Use higher quality source image or recreate as vector art
Problem: Missing Details
Cause: Auto-digitizer skipped small elements
Fix: Manually trace important details or simplify design
Problem: Fabric Puckering
Cause: Too many stitches in one area
Fix: Reduce stitch density before converting
5 Pro Tips for Perfect PES Files
- Always test stitch on scrap fabric first
- Use the right stabilizer for your material
- Start simple before tackling complex designs
- Save original files for future adjustments
- Keep a conversion log of what works best
FAQs About PES Conversion
Q: Can I convert any image to PES?
A: While technically possible, simple designs with clean lines convert best. Photos and watercolor-style art often don’t digitize well.
Q: How much does professional conversion cost?
A: Typically $15-$50 per design, depending on complexity. Many services offer discounts for bulk orders.
Q: What’s the difference between PES and other formats?
A: PES is Brother’s specific format that often retains more color information than generic formats like DST.
From File to Finished Embroidery
Once you have your PES file:
- Transfer to machine (USB, WiFi, or direct connect)
- Select proper hoop size
- Choose matching thread colors
- Stitch test sample on scrap fabric
- Produce your final piece!
Final Thoughts
Converting images to PES files opens up endless creative possibilities for your embroidery projects. While auto-converters work for simple designs, investing time in learning digitizing software or using professional services pays off with stunning, professional-quality results.
Ready to create your first PES file? Pick a method and start stitching today!
Have specific questions about converting your image? Ask in the comments below! #PESConversionMadeEasy 🧵✨
🔹 Your First Project: Try converting a simple black-and-white logo this week—it’s the perfect starter challenge!